Install a Windrose Dedicated Server on Ubuntu Using Wine + SteamCMD
This guide shows how to install and run a Windrose dedicated server on Ubuntu using SteamCMD, Wine, and Xvfb (virtual display).
SteamCMD is a command-line version of the Steam client. It lets you download and update game server files directly on a Linux machine without needing a full Steam installation or a desktop environment.
Wine is a compatibility layer that lets Linux run Windows applications by translating Windows system calls into their Linux equivalents — no virtual machine required. Because Windrose's dedicated server is a Windows executable, we use Wine to run it on Ubuntu.
A few key principles this guide follows:
- Wine is used to run the Windows server executable on Linux — no virtual machine required
- A dedicated system user is created to run the server, keeping it isolated from root
- systemd is used to manage the server process, ensuring it starts on boot and restarts if it crashes
Server Requirements
Official requirements are for Windows. Running via Wine on Ubuntu uses slightly more RAM, so err on the side of the next tier up.
| Parameter | 4 players | 8 players |
|---|---|---|
| OS | Ubuntu 26.04 64-bit | Ubuntu 26.04 64-bit |
| CPU | 2 cores | 4 cores |
| RAM | 2 GB | 4 GB |
| Storage | 35 – 50 GB SSD | 50 GB NVMe recommended |
1 Update Ubuntu
Start with a clean, fully updated Ubuntu 26.04 system.
apt update && apt upgrade -y
apt install wget curl unzip tmux xvfb software-properties-common -y2 Set Timezone
Set the server timezone so scheduled tasks like the daily restart fire at the right local time. List available timezones to find yours:
timedatectl list-timezonesThen set it:
timedatectl set-timezone Australia/SydneyConfirm it applied:
timedatectl3 Install Wine & SteamCMD
Enable the multiverse repository and i386 architecture, then install Wine and SteamCMD together. The server executable is 64-bit so only wine64 is needed. lib32gcc-s1 is required by SteamCMD on 64-bit Ubuntu.
add-apt-repository multiverse
dpkg --add-architecture i386
apt update
apt install -y \
  steamcmd \
  wine \
  wine64 \
lib32gcc-s1Run SteamCMD once to let it update itself before use:
/usr/games/steamcmd +quit4 Create a Dedicated User
Running the server as root is a security risk. Create a dedicated windrose user with no login shell and no sudo access.
useradd -r -m -s /usr/sbin/nologin windroseAll server files and scripts will be owned by this user. The systemd service will also run as this user.
5 Download the Windrose Dedicated Server
Use SteamCMD to download the Windows server files as the windrose user. The install directory must be set before logging in. The +@sSteamCmdForcePlatformType windows flag tells SteamCMD to fetch the Windows build even though you're on Linux.
sudo -u windrose /usr/games/steamcmd \
  +@sSteamCmdForcePlatformType windows \
  +force_install_dir /home/windrose/windrose \
  +login anonymous \
  +app_update 4129620 validate \
+quit6 Create a Startup Script
Create a script that handles the virtual display and logging. It will be owned and run by the windrose user.
cat > /home/windrose/start-windrose.sh << 'EOF'
#!/bin/bash

cd /home/windrose/windrose/R5/Binaries/Win64

xvfb-run -a wine WindroseServer-Win64-Shipping.exe \
    -log \
    >> /home/windrose/windrose.log 2>&1
EOF

chmod +x /home/windrose/start-windrose.sh
chown windrose:windrose /home/windrose/start-windrose.sh7 Set Up the systemd Service
Create a systemd service so the server starts automatically on boot and restarts if it crashes.
cat > /etc/systemd/system/windrose.service << 'EOF'
[Unit]
Description=Windrose Dedicated Server
After=network.target

[Service]
Type=simple
User=windrose
Group=windrose
WorkingDirectory=/home/windrose/windrose/R5/Binaries/Win64
ExecStart=/home/windrose/start-windrose.sh
Restart=on-failure
RestartSec=10
KillMode=control-group
TimeoutStopSec=15

[Install]
WantedBy=multi-user.target
EOFEnable and start the service:
systemctl daemon-reload
systemctl enable windrose
systemctl start windroseCheck it is running:
systemctl status windroseTo stop or restart the server:
systemctl stop windrose
systemctl restart windrose8 Check the Log
Tail the log file to monitor server output in real time.
tail -f /home/windrose/windrose.logCtrl+C to stop tailing. The server will keep running as a systemd service.Configuration
systemctl stop windrose
Daily Restart
A daily restart keeps the server healthy and picks up any file changes. Set this up using a systemd timer — no cron required.
Create the timer file:
cat > /etc/systemd/system/windrose-restart.timer << 'EOF'
[Unit]
Description=Restart Windrose server daily

[Timer]
OnCalendar=*-*-* 04:00:00
Persistent=true

[Install]
WantedBy=timers.target
EOFCreate the matching service that triggers the restart:
cat > /etc/systemd/system/windrose-restart.service << 'EOF'
[Unit]
Description=Restart Windrose server

[Service]
Type=oneshot
ExecStart=/bin/systemctl restart windrose
EOFEnable and start the timer:
systemctl daemon-reload
systemctl enable --now windrose-restart.timerVerify it is scheduled:
systemctl list-timers windrose-restart.timer04:00:00 in the timer file to any time you prefer, then run systemctl daemon-reload.Upgrading the Server
When a new version of Windrose is released, stop the server, update the files with SteamCMD, then restart. The stop may take up to 15 seconds while Wine processes are cleaned up.
systemctl stop windrosesudo -u windrose /usr/games/steamcmd \
+@sSteamCmdForcePlatformType windows \
+force_install_dir /home/windrose/windrose \
+login anonymous \
+app_update 4129620 validate \
+quitsystemctl start windrosevalidate flag checks all existing files against Steam's manifest and replaces anything corrupted or outdated. It's safe to run on an existing installation.Change the Server Name
The server name is set in /home/windrose/windrose/R5/ServerDescription.json.
nano /home/windrose/windrose/R5/ServerDescription.jsonUpdate the name field:
{
  "Name": "My Windrose Server"
}Save the file and restart the server for the change to take effect.
Set a Server Password
The password is set in /home/windrose/windrose/R5/ServerDescription.json.
nano /home/windrose/windrose/R5/ServerDescription.jsonFind the password field and set your desired value:
{
  "Password": "yourpasswordhere"
}Save the file and restart the server for the change to take effect.
Joining the Server
How to Join
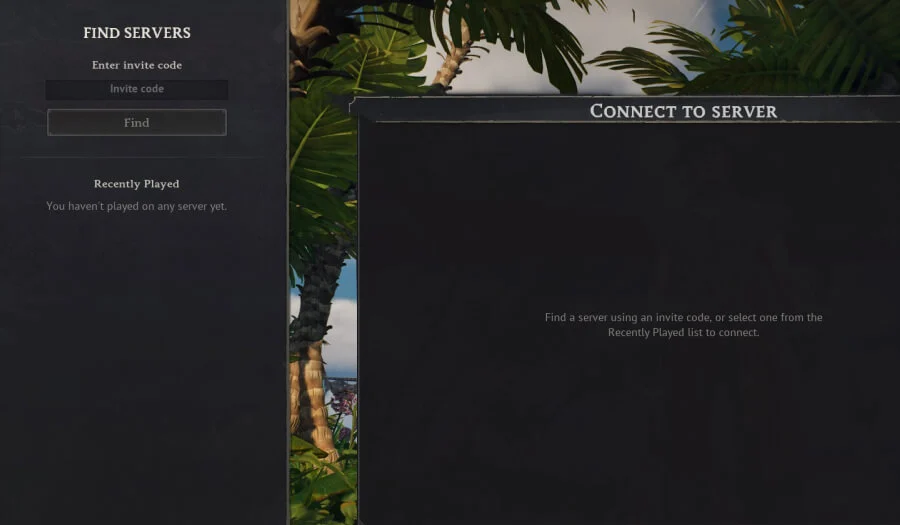
Players need the server's invite code to connect. The invite code is found in /home/windrose/windrose/R5/ServerDescription.json.
grep -o '"InviteCode": "[^"]*"' /home/windrose/windrose/R5/ServerDescription.jsonShare the invite code with players. In Windrose, select Join Server and enter the invite code to connect.
Troubleshooting
Check Service Status
The first step for any issue — shows whether the server is running, when it last started or stopped, and the most recent log output.
systemctl status windroseView Full Logs
For more detail, check the systemd journal or the server log file directly.
journalctl -u windrose -n 100 --no-pagertail -f /home/windrose/windrose.logService Won't Start
Check that the startup script exists and is executable:
ls -la /home/windrose/start-windrose.shCheck that the server files are present:
ls /home/windrose/windrose/R5/Binaries/Win64/WindroseServer-Win64-Shipping.exeConfirm Wine and xvfb-run are installed:
which wine && which xvfb-run